Water damage can feel overwhelming for homeowners, especially when it invites unwanted guests like mold into the picture. This guide explores a step-by-step water damage restoration process that ensures your home remains mold-free. Whether you’re dealing with a small leak or major flooding, understanding these steps will empower you to take control and protect your living space. With a focus on step-by-step water damage restoration, you can efficiently address any issues that arise.
After a heavy rainstorm, you find water pooling on your floors. Panic sets in as you realize your home could be damaged and mold might start creeping in. But don’t worry! In El Segundo, with a clear action plan for water damage restoration, you can save your home and keep it mold-free.
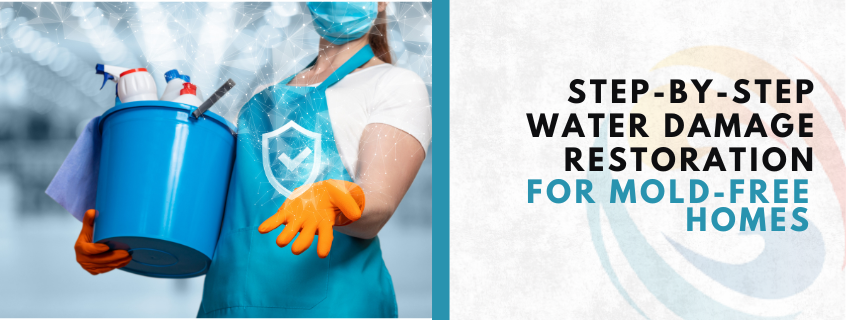
When performing step-by-step water damage restoration, it’s crucial to act quickly to minimize damage and prevent mold growth. Each step plays a vital role in safeguarding your home.
Step 1: Safety First
Before you dive into restoration, prioritize safety. Here’s how:
- Assess the situation: Identify the source of water. If it’s a significant leak, turn off the water supply immediately.
- Protect yourself: Wear protective gear like gloves and masks. Standing water can contain contaminants.
- Turn off electricity: Avoid electrical hazards by switching off power to affected areas.
Step 2: Remove Excess Water
In any step-by-step water damage restoration, the removal of excess water is a priority. Acting swiftly can prevent additional complications.
This process is crucial for step-by-step water damage restoration, as moisture creates the perfect environment for mold growth. In El Segundo, following these steps diligently ensures a successful outcome in your step-by-step water damage restoration efforts.
- Use pumps and wet vacs: For significant flooding, consider renting a commercial-grade pump.
- Towels and mops: For smaller amounts of water, absorb as much as you can with towels and mops.
This process is crucial for step-by-step water damage restoration, as moisture creates the perfect environment for mold growth.
Thorough drying is essential in the step-by-step water damage restoration process to eliminate moisture and prevent mold.
In this case, you can see how effective a step-by-step water damage restoration can be when actions are taken promptly and efficiently.
Step 3: Dry the Area Thoroughly
After the bulk of the water is removed, it’s essential to dry everything out completely. During this inspection phase of the step-by-step water damage restoration in El Segundo, it’s crucial to identify all areas affected to promote thorough recovery.
- Open windows and doors: Increase airflow and reduce humidity.
- Use fans and dehumidifiers: These tools can speed up the drying process significantly.
- Remove carpets and padding: If they’re soaked, it’s often best to replace them to prevent mold.
Step 4: Inspect for Damage
Now it’s time to assess any damage done by the water.
- Check walls and ceilings: Look for signs of water damage, such as discoloration or bulging.
- Inspect furniture and belongings: Determine what can be salvaged and what needs to be disposed of.
Repairs are a final step in the step-by-step water damage restoration. Properly addressing problems can prevent future issues.
Step 5: Clean and Sanitize
Cleaning the area thoroughly reduces the risk of mold. Preventive maintenance is a key aspect of the step-by-step water damage restoration to ensure long-term safety.
- Use a mild detergent: Clean surfaces that came into contact with water.
- Disinfect with a mixture: Combine water with bleach (1 cup of bleach per gallon of water) to kill residual mold spores.
Step 6: Repair and Restore
After everything is cleaned and dried, it’s time for repairs.
- Seal leaks: Make necessary repairs to plumbing or roofs that caused the leak.
- Replace damaged materials: Consider replacing drywall, insulation, and flooring if they’re beyond saving.
By following this step-by-step water damage restoration guide, you can keep your home safe from mold and future water damage.
Step 7: Prevent Future Water Damage
After restoring your space, take preventive steps for the future.
- Regular maintenance checks: Inspect plumbing and roofing periodically.
- Invest in sump pumps or drainage systems: These can help manage heavy rainfall and reduce risk.
Water damage restoration doesn’t have to be overwhelming. By taking prompt action and working with Water Damage Restoration El Segundo experts, you can effectively address water issues and prevent mold growth before it spreads. Start by identifying and repairing leaks immediately, drying affected areas thoroughly, and using proper ventilation to reduce moisture levels. Regular inspections of high-risk areas—such as basements, attics, and around plumbing—are essential to catch problems early. Prevention is key, so maintain your property diligently to avoid costly repairs. With the right approach and professional support, you can keep your home safe, mold-free, and protected from future water damage.
Common Inquiries on Water Damage and Mold Prevention
What should I do first after discovering water damage in my home?
Turn off the water supply immediately and disconnect electrical devices in the affected area to stay safe.
How can I prevent mold after water damage?
Remove standing water quickly and dry the area within 24–48 hours using fans and dehumidifiers.
How do I know if my home has hidden mold after water damage?
Look for musty odors, wall or ceiling discoloration, or lingering signs of water damage.
Why is professional water damage restoration important?
Experts ensure thorough water removal, prevent mold growth, and address long-term damage to keep your home safe and sound.
How long does water damage restoration take?
The timeline depends on the extent of the damage—minor cases may take a few days, while major restoration can take several weeks.